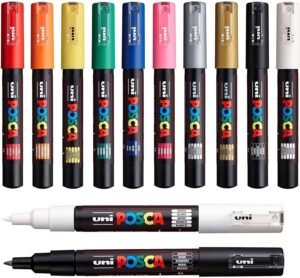
Step-by-Step Guide for Using Copic Markers
- Select Your Markers: Choose the appropriate Copic markers for your project, considering color and tip type.
- Prepare Your Surface: Use marker paper to prevent bleeding and ensure smooth application.
- Light Sketch: Begin with a light pencil sketch to outline your design.
- Base Colors: Apply base colors using light, even strokes.
- Layer and Blend: Build up color intensity and blend seamlessly using the Copic blending marker.
- Add Details: Use fine nibs for detailed work and highlights.
- Finish: Check for any areas that need touch-ups or additional blending.
Types of Copic Markers
- Copic Sketch: Dual-tip markers with a brush tip and chisel tip.
- Copic Ciao: More affordable, smaller markers with a brush and chisel tip.
- Copic Wide: Broad tips for filling large areas.
Guide for Proper Use and Care
- Storage: Store horizontally to keep the ink evenly distributed.
- Cap Tightly: Always cap markers securely after use.
- Clean Tips: Regularly clean the marker tips to prevent clogging and maintain performance.
How to Repair Markers
- Refill Ink: Use Copic refill ink to rehydrate dry markers.
- Replace Nibs: Swap out worn or damaged nibs with new ones.
Using Markers on Non-Professional Paper
- Select Paper: Use thicker paper to prevent bleeding.
- Test First: Always test markers on a small section of the paper.
- Light Pressure: Apply ink lightly to avoid oversaturation.
How to Make a Homemade Marker
- Materials: Plastic casing, felt, ink.
- Assembly: Fill the casing with ink, insert the felt, and secure the cap.
Using Copic Markers Correctly
- Follow Instructions: Adhere to guidelines provided by Copic.
- Experiment: Try different techniques to find what works best.
- Practice: Regular use improves familiarity and skill.
Solving Problems When Markers Dry Out
- Reviving: Refill with Copic ink.
- Storage: Store properly to avoid drying.
Disassembling a Marker
- Remove Cap: Carefully take off the cap.
- Disassemble Barrel: Gently twist or pull apart.
- Remove Nib: Extract the nib if replaceable.
- Reassemble: After cleaning or replacing parts, reassemble.
Storing Markers
- Horizontal Storage: Keep markers flat.
- Cool, Dry Place: Avoid sunlight.
- Organize: Use storage cases for organization.


